PixelPals Haven
Opening the next view…
Preparing the page without changing your saved work.
 Gear intelligence for complete setups
PixelPals Haven
Preparing the page without changing your saved work.
Cockpit setup guide
A repeatable seating position turns stronger pedals and force feedback into usable control instead of extra movement.
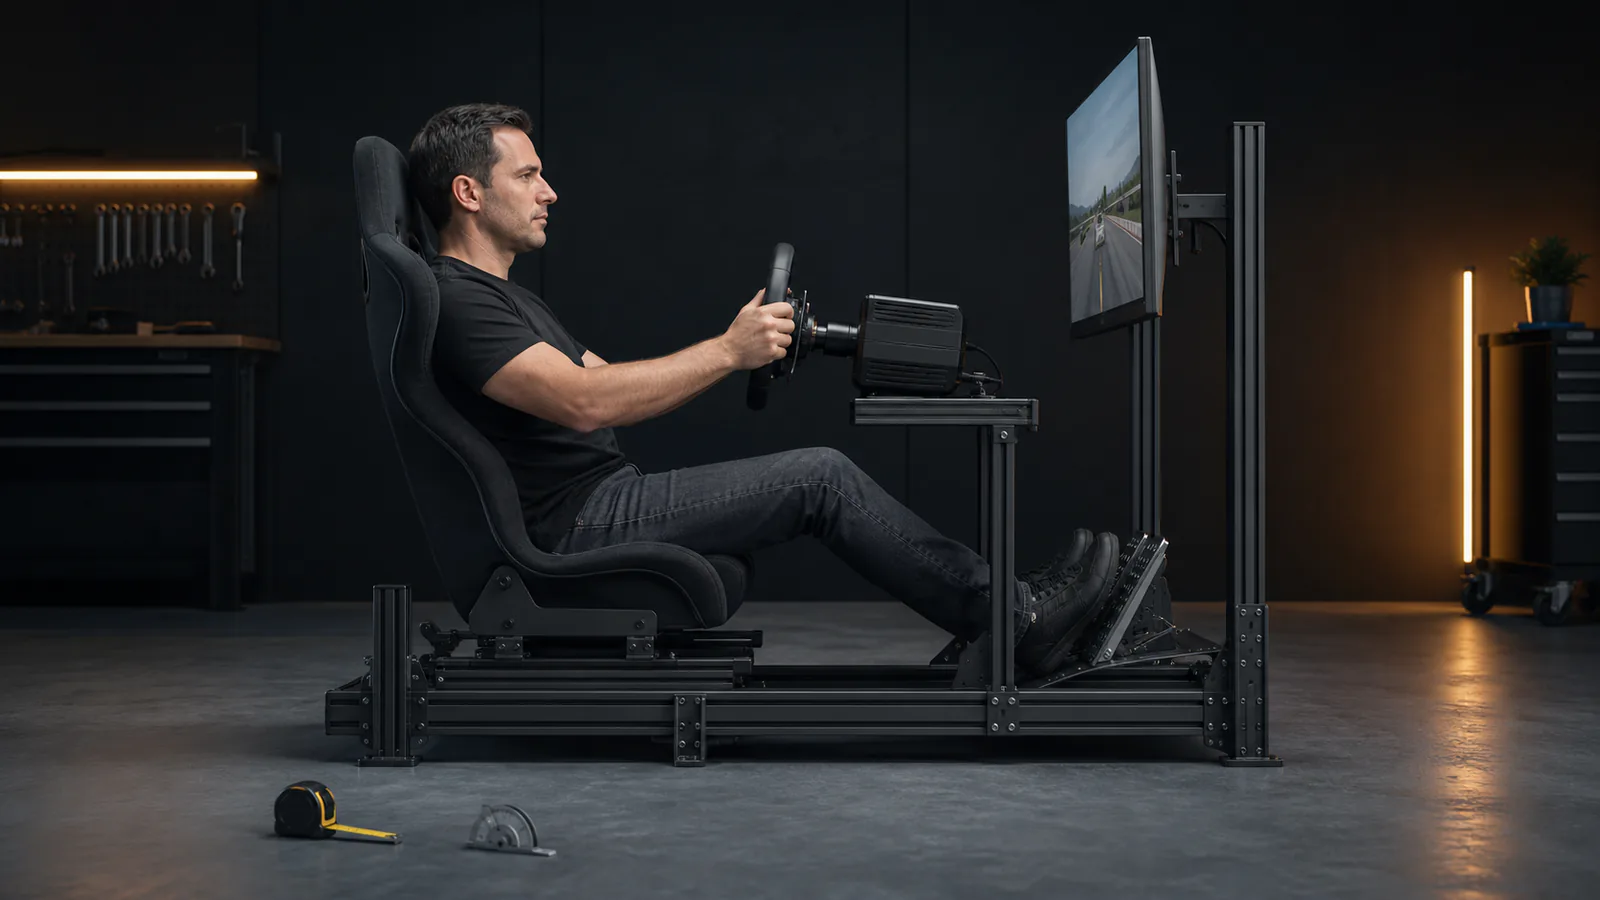
Record the available width and length, access path, display stand footprint and clearance for doors, drawers and walking space. Include the driver's entry path and the movement required by sliders or a motion platform.
Choose a seat angle and height that support the hips, lower back and shoulders. The driver should be able to apply the intended brake force without sliding forward, lifting from the backrest or locking the knee.
Set pedal distance and angle while pressing the brake at the force used in driving. Keep enough knee bend to avoid overextension, and adjust heel support so the throttle can be modulated without lifting the whole leg unnecessarily.
Place the wheel so the shoulders stay against the seat and the elbows remain bent. Check reach at the top and sides of the rim, button access and clearance between the wheel, knees and display.
Use the normal driving posture to determine eye height and viewing distance. Mount the display so the calculated field of view can be used without forcing the driver to lean forward or look sharply upward.
Mark seat slider, pedal plate and wheel adjustment positions for each driver. A written set of measurements is more reliable than rebuilding the position by feel before every session.
Keep fasteners, power switches, USB connections and cable routes accessible. Reserve space for shifters, a handbrake, button boxes, haptics or removable flight controls only when those additions are part of a real plan.
Published .